Starting your Own Seeds isn’t a Big Deal
I recently watched the gardening MasterClass by Ron Finely, which was really fun and educational. I’ve been gardening all my life, and I learned from the class, but it is also accessible to people new to gardening.
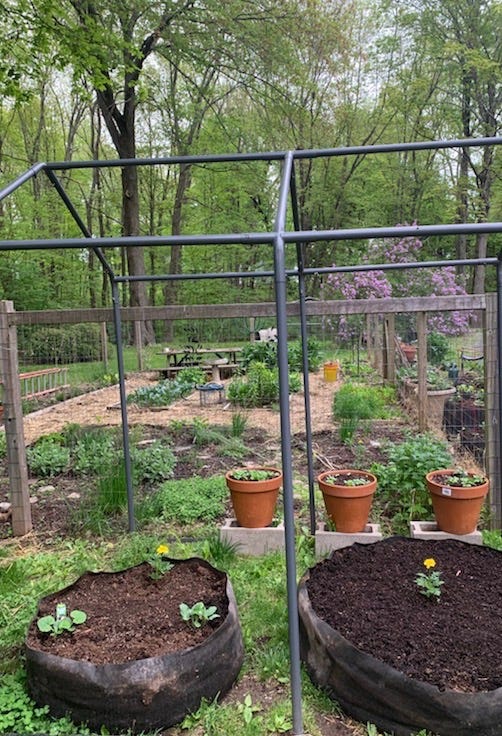
I was not really surprised to hear Ron say that he’s not a fan of starting his own seeds. My mother has been gardening all her life (so 28 years longer than me. See photo below!) and she also doesn’t start her own seeds. Both of these master gardeners, and lots of others I know, go to garden centers and buy seedlings to pop in the ground.
I get it. There is a certain satisfaction in taking a toddler kale plant and seeing it quickly grow strong and robust. It’s nice to be able to plant lettuce and harvest within a few weeks, or to take a sturdy tomato plant, plant it nice and deep, and see it grow tall before your eyes. My mom will also direct sow a lot of things, like lettuce, spinach, and kale, but I find that stressful because I’m not good at weeding consistently.
I happen to really love starting my own seeds, and I want to encourage everyone who has thought about doing it — it really isn’t a big deal, and offers it’s own kind of gardening fun.
What you need:
- Dirt: I like to use coconut coir mixed with perlite, or to buy a seed starting mix. Coconut coir is a more environmentally friendly alternative to peat, which was my go-to until I understood it’s environmental impact. When I open a bag of perlite, I pour a bunch of water right into the bag to wet it down before mixing it with the coconut coir, because otherwise there is a lot of dust. I do buy dirt for seed starting rather than digging out top soil and compost because it’s full of life and I’d rather keep that in the garden. It’s important that you get it all very wet before using it to start seeds, because when you first start working with it’s dry as a bone and will absorb more water than you think (this is partially why it’s good for seed starting!). I like to mix up a bunch of seed starting mix in a plastic tote or in an Ikea bag (handles!) and then fill up my seed starting containers as I need it. When seeds are only staying in a container for a short amount of time, you probably won’t need fertilizer.
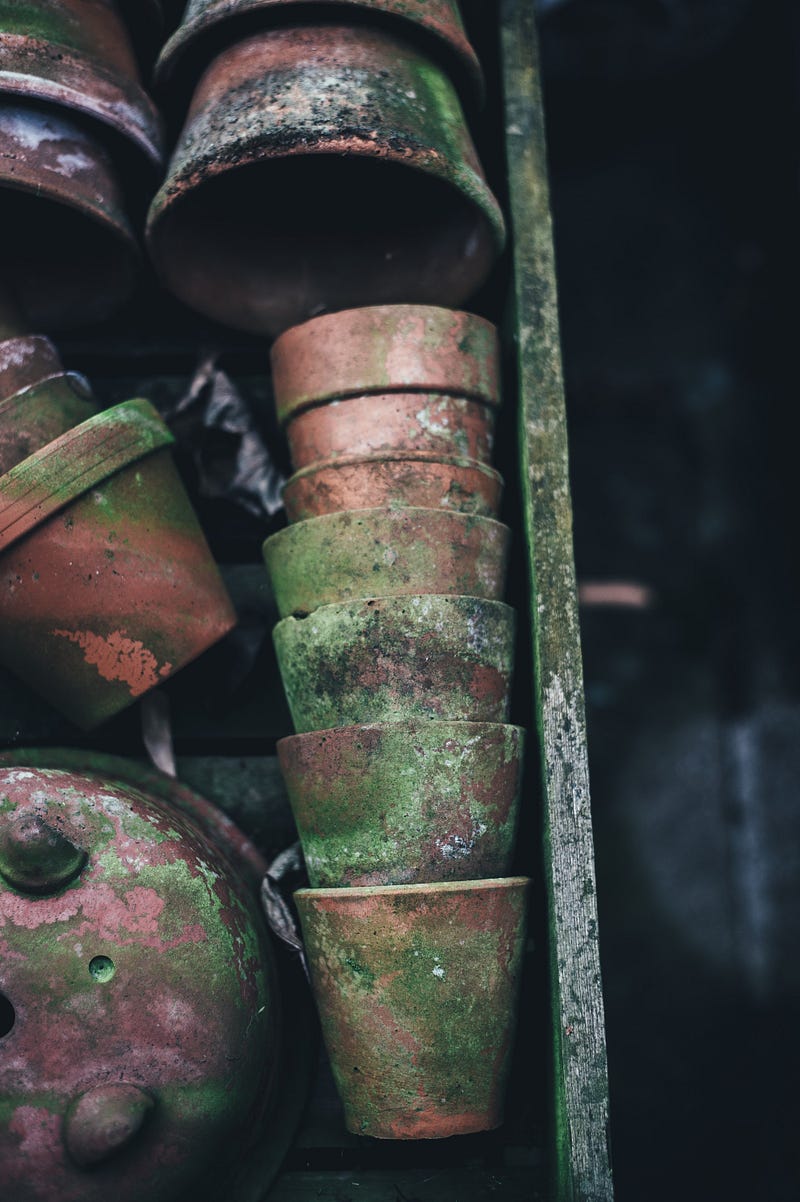
- Container and something for it to sit in/on: My two favorites are used take-out containers with holes punched in the bottom and tiny terra cotta pots. I’ve always fantasized about starting all my seeds in terracotta, and this year I decided to do that for some (the pots are about 50 cents each). I love growing food in containers, and prefer to use either unglazed terra cotta, untreated wood, or breathable grow bags instead of plastic. For starting seeds, I feel like the roots don’t spend much time in the dirt, so I will re-use plastic containers. If you buy seedlings in the garden center, they are grown in plastic too. Other people have good luck with egg cartons and pots made from newspaper, but I have always had trouble with things drying out in paper containers. It’s important to remember that unglazed terra cotta saucers are not waterproof — the water will seep through them, which is part of what makes unglazed terra cotta so good for growing plants. If you want to have terra cotta plants sitting on terra cotta saucers (so pretty!), you probably want to set all of them in a plastic tray to protect your furniture/counter/window sill.
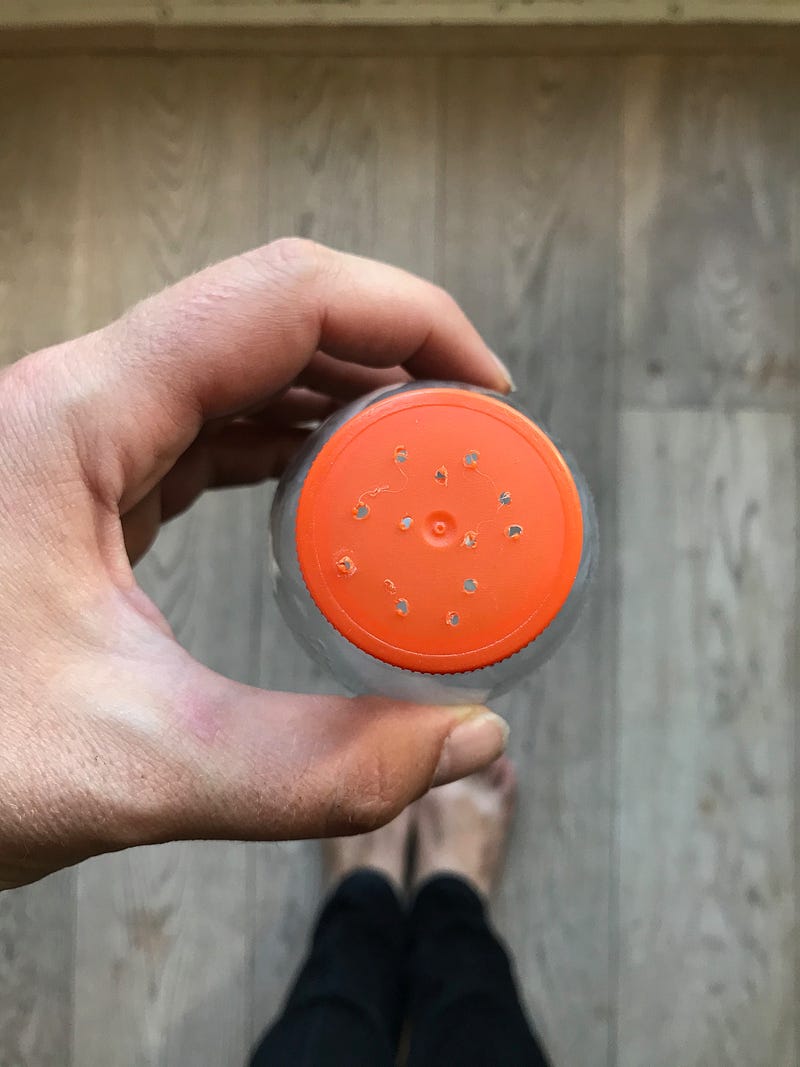
- Water and a way to water gently: Newborn plant babies are delicate and you need to water them without drowning them. A spray bottle with a gentle stream will work, or you can take something like a plastic bottle and poke holes in the top with a hot drill bit (making this is very satisfying). Adding an air hole on the bottle itself helps too (see photo below). Little babies don’t like to dry out! You do need to water them almost every day at first. The bigger the container and the bigger the plant, the longer they can go without water. If you’re going to be gone all day, it’s better to give them a little water in the morning before you leave, even if they don’t need it, rather than come back late at night and they are half dead from drying out. I think of it as saying hello to them every day. Because they are small, they don’t take much water. Although I have sometimes had mold problems with houseplants, I don’t usually have this with seedlings. I’m not sure why. If you do get mold on the soil, you can spray it with diluted vinegar or tea tree oil.
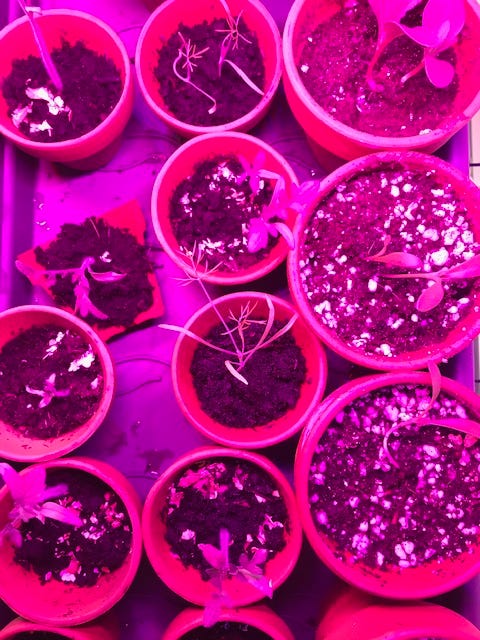
- Light: The less time your plant babies spend inside, the less you have to worry about light. I’ve started seeds for years without grow lights, but if you keep them inside for too long, they get spindly — long thin stems reaching and reaching for the sun. This makes them delicate when you first transplant, and they won’t look at all like the sturdy seedlings you get from a garden center. Sometimes they can recover — things like lettuce, kale, spinach, dill, and fennel can totally survive being transplanted a bit spindly. If you transplant them smaller than what you’re used to getting from a garden center, then all the better. They will grow better once they are outside or in their permanent home container with room for their roots and sun. But If you want to start things that need longer to grow or you want good strong sturdy seedlings, a grow light helps. The first grow lights I had were clip work lights (about $10) with round glow bulbs (about $14). As part of coping with COVID-19 stress, I bought myself nice grow lights this year! You can spend anywhere between $20 and $200 per grow light (mine were about $35 each). If you don’t have enough grow lights for all your plants, you can rotate things every few days. When seedlings aren’t getting enough light, they will literally reach for the sun, bending towards the light. If you notice some seedlings bending a lot, you can move them around so those are closer to the light.
You’re never really sure which seeds will sprout, and which will grow into the strongest plants. There are two ways I will handle this. The first is to start them all together in an open box (a flat), like a take out container with holes punched in the bottom. They will eventually have to be thinned and/or removed to a larger container. I do this for things that stay small and can stay in the flat for longer, like greens, spring onions, leeks, calendula, and violets. The other way to hedge your bets is to plant two or three seeds in one container and then take out the weaker ones. This is what I like to do for tomatoes because I don’t want to risk breaking the stem by moving them more than I have to.
Starting the seeds:
Once you have your wet dirt and your container and a spot where you can stick them where water won’t ruin your counter or shelf or window sill, put the dirt in the container and sprinkle your seeds on top. However big the seed is, you need about one to two times that side of dirt on top of them. For tiny seeds, I sprinkle some more dirt on top and press it down lightly with my hand. It’s ok if you see some seeds on top. For bigger seeds, like nasturtiums, you can poke them down into the soil. I will also say that the bigger the seed, the less you need to start it inside (more on that below).
Then you wait. Don’t let the soil dry out. One day you’ll see a little baby poke its head up. Then another, and another. Ooo!!! It’s really exciting, trust me.
Then you have to do the worst thing. You have to kill some of your plant babies (i.e. thinning them). Perhaps I’m just weird, but it makes me feel better about this if I either eat the thinning (like for lettuces or spinach — sprouts!) or if I put it in the compost. You can thin a little bit at a time until eventually each plant baby has room around it, or you can just place your bets and thin at the beginning. I tend to thin a bit at a time because I hate killing them. If it’s hard to grab them, like teeny tiny poppy seedlings, you can use tweezers.

If you wait a bit longer to thing them, so the sacrificed seedlings are bigger, you can pot up the thinings and give them away. This is one of the things I love about starting seeds — I always have plant babies to give away! If they look like they are struggling for room, use a tea spoon to pop a few out and throw them into pots. Eventually you can pot them all up if you want to to give them more room. I don’t pot them up unless I really need to. If possible, at the point where they look crowded and like they need more space, I will put them into the ground or their permanent container.
You can keep them growing inside as long as you have the light for them and they have space in their pots. Some plants can go outside while it’s still really cold (like spinach, kale), other need to wait a bit longer (lettuce, flowers), and some need to wait until you’re damn sure there isn’t going to be a frost that kills them at night (tomatoes and others in the nightshade family, basil).
What plant to start?
The first answer is, of course, to start what you want to grow, whether you want to eat it or look at it. Greens are great to start from seed. For flowers and perrenials, which mostly grow slower than veggie seedlings, you can start your own seeds if you want to have a lot of plants without it being cost prohibitive.
If you don’t have grow lights, but a window sill with decent light:
- lettuce
- leeks — start them in February when it’s dark and cold for a bit of winter dirt therapy!
- spring onions
- spinach
If you have grow lights, a cold frame, a greenhouse, or a *really* sunny window:
- all of the above — they will benefit from more light
- kale and other brassicas (cauliflower, cabbage, broccoli, brussel sprouts, collard greens). Label carefully— these all look very similar when they are small.
- Swiss chard
- tomatoes and other nightshades (eggplant, okra…see note below about peppers)
- dill
- fennel
- parsley
- cilantro
- chamomile (I love planting paths with chamomile, which is cost prohibitive unless you start them yourself!)
- calendula and other marigolds (I love having a lot of calendula!)
- borage
- violets
Things I wouldn’t start inside without a reason and/or that make me twitch when I see them for sale as seedlings:
- root crops (radishes, carrots, beets)
- peas
- beans
- winter squash
- summer squash
- cucumbers
- melons
- corn
- peppers — these are my personal nemesis. I understand they need bottom heat to germinate. I’ve never had a heated grow mat, and I have literally never successfully started peppers from seed. I keep trying, and keep ending up needing to buy seedlings. I should probably get a heating mat!
- perennial plants including herbs like thyme, lavender, rosemary, oregano. You can start these inside, but they grow much slower than you think they will! It can be fun to see them grow, but thyme started in March won’t be ready to plant in May.
Aside from peppers and perennials, the plants I listed above don’t really like to be transplanted, and they grow well when directly sown in the ground. Selling them as seedlings in garden centers just feels greedy! But there might be a reason to start them indoors. For example, if you want to grow melons but don’t have a long enough growing season, you can try starting them indoors. Or, if where you are going to plant them isn’t safe for them as babies and you think they need to be bigger to make space for themselves.
You are going to need to give them space to get big, lot’s of light, and be careful when you take them out of the pot to put them into the ground. When transplanting them, you need to be aware of both the roots and the stems. If you want to try one of these tougher projects, it might be good to use soil blocks (which don’t have any pot at all) or to grow them in one of those paper pots I don’t like, because then you can plant the paper pot right in the ground. You might lose some when you transplant them, so it’s good to have extra.
When to start plants?
Whenever you want to. Most people start plants in late winter or early spring so they are ready to plant when the gardening season begins, with the frost-free date for your region as a guideline (in much of the US northeast, Mother’s Day or Memorial Day are good guidelines). But you can also start seeds at other times if you have other goals in mind. For example, writing this I realized I want to start a bunch of chamomile. When I get all my current babies out of my seed starting space, I’ll start some chamomile and plant in the ground after about a month. You might also start spinach, kale, collards, or lettuce in summer or fall to have a later crop and/or to eat as baby greens.
When you do move them outside, make sure you give them time to get used to the difference in temperature, which is called hardening off. I put them outside during the day but bring them in at night for about two to three nights. Then I leave them outside one night. If none die, I consider them hardened off.
I read a funny meme once speculating that maybe we are here to serve trees, they “raise” us by providing air, and we die and in turn, fertilize their roots. I welcome our arboreal overlords! Plant babies for everyone!